Outlook Scheduling Assistant: What It Does and Where It Stops
A practical guide to the Outlook Scheduling Assistant: how to open it, read the free/busy grid, use Room Finder and AutoPick, and what to do when your guests are outside your organization.
On this page
- What the Outlook Scheduling Assistant is
- How to open the Scheduling Assistant in Outlook
- New Outlook and Outlook on the web
- Classic Outlook for Windows
- Outlook for Mac and mobile
- How to read the free/busy grid
- How to use Room Finder in Outlook
- How AutoPick finds a time
- Where the Outlook Scheduling Assistant stops
- External guests show up as empty rows
- It shows you availability; you still drive everything
- What handled scheduling looks like instead
- Getting the most out of both
- Frequently Asked Questions
I’m Nir Sabato, co-founder of Catch. Most of the executives I work with live inside Outlook all day, and the Outlook Scheduling Assistant is what they reach for the moment a meeting has more than two people in it. It’s a genuinely useful tool. It’s also underused. Plenty of people still guess at a time, send the invite, and reschedule twice, when the answer was sitting one tab away.
So here’s what the Scheduling Assistant actually does: how to open it in each version of Outlook, how to read the free/busy grid, how Room Finder and AutoPick work, and the exact point where the tool stops helping. That last part matters. The Scheduling Assistant is very good at one job and does nothing at all for another job that eats most of an executive’s scheduling time.
What the Outlook Scheduling Assistant is
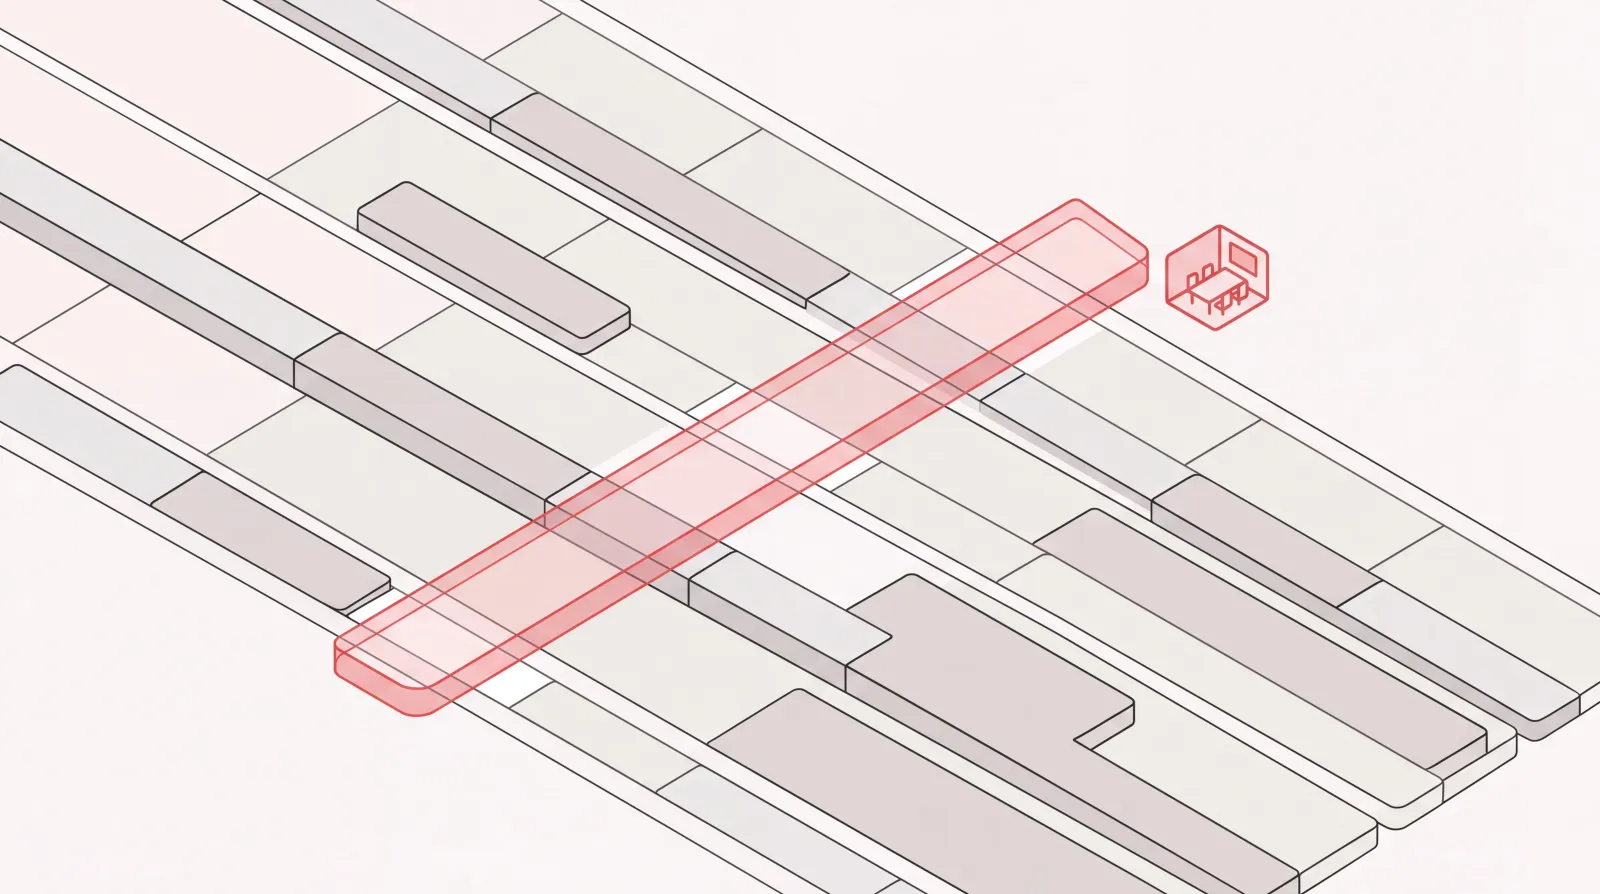
The Outlook Scheduling Assistant is a view inside a meeting invite that lines up every attendee’s calendar side by side, so you can see when people are free before you pick a time. One row per person. Their busy blocks show up as colored bars across a shared timeline, and you drag the selection bar to a slot where the rows are clear.
It runs on free/busy data published by Exchange, so it needs a Microsoft 365 or Exchange work or school account. A personal Outlook.com mailbox won’t give you a useful grid. There’s no shared directory sitting behind it.
Two other things live in the same view. Room Finder searches your organization’s bookable meeting rooms and drops one into the invite as a resource. AutoPick jumps the selection bar to the next slot where everyone you’ve marked as required is free. Between them they cover the standard internal meeting: five people, one room, sometime this week.
How to open the Scheduling Assistant in Outlook
The Scheduling Assistant lives inside a meeting, not on your calendar. Create the meeting first, add the people, then switch to the scheduling view.
New Outlook and Outlook on the web
- Open your calendar and click New event.
- Add a title, then type names into the Invite attendees field. The grid only has rows for people you’ve added.
- Click the Scheduling Assistant tab at the top of the event window.
- Drag the selection bar to a slot that works, or use the suggested times listed beside the grid.
- Return to the event tab to finish the details, then click Send.
Outlook on the web behaves the same way, which comes in handy when you’re on a machine that isn’t yours.
Classic Outlook for Windows
- In Calendar, click New Meeting on the Home tab. New Appointment has no attendees, so it has no Scheduling Assistant.
- Add people in the To field, or click To to pick them from the address book.
- Click Scheduling Assistant in the ribbon.
- Mark people as required or optional using the icon next to each name. This changes what AutoPick treats as a hard constraint.
- Pick your slot, click Appointment to go back, and send.
Classic Outlook has the fullest version of the feature. If you’re comparing versions and something described here seems to be missing, this is usually where to find it.
Outlook for Mac and mobile
Outlook for Mac shows the same scheduling view inside a new meeting once attendees are added. On iOS and Android the grid gets squeezed to fit the screen and room browsing sits on the New Event screen, though the underlying free/busy data is identical. Anything with more than three or four attendees, use a desktop.
How to read the free/busy grid
Each row is one attendee, and each colored block on that row is time they’ve already committed. The color tells you what kind of commitment.
- Dark blue is busy. A meeting or a block sits there.
- Light blue with diagonal hatching is tentative. They’ve been invited and haven’t firmly accepted.
- Purple is out of office.
- White is free, as far as their published calendar shows.
- Light gray is outside their working hours.
- Gray diagonal hatching means no free/busy information at all, which is not the same as free.
That gray matters more than people expect. A slot can be technically free and still be 7:30 in the morning for someone two time zones away, and the Scheduling Assistant will happily show it as available, because it is. Outlook renders the grid in your own time zone. It won’t warn you that you’re proposing breakfast to a colleague in another region.
One more caution. White means nothing is on their published calendar. It does not mean the person is available. Executives with heavy travel, or a lot of unblocked focus time, look wide open in the grid and are not.
How to use Room Finder in Outlook
Room Finder sits next to the Location field and searches the room lists your IT team has published in Exchange.
- Click Room Finder beside the Location field, or Browse with Room Finder on Mac.
- Choose a building from the dropdown, or start typing to search.
- Filter the rooms by capacity, floor, type, or features such as a display or video conferencing.
- Select an available room. It’s added to the meeting as a resource and appears as its own row in the grid.
Once a room is on the invite it behaves like an attendee. It has busy time, and it can block a slot that would otherwise work for the people. Which is the point: it stops you booking a time everyone can make in a room that’s already taken.
If Room Finder shows you nothing, the room lists probably haven’t been configured on the Exchange side. That’s an IT question, not a setting on your machine.
How AutoPick finds a time
AutoPick moves the selection bar to the next block of time where your required attendees, plus any room on the invite, are all free.
In classic Outlook you click AutoPick and choose the criteria: required people, required people plus one resource, or all people and resources. Click AutoPick Next repeatedly to step forward through the open slots, one at a time. New Outlook and the web version present the same logic as a list of suggested times beside the grid.
AutoPick is doing arithmetic on published calendars, and it’s good at it. What it isn’t doing is weighing anything. It has no idea that the Thursday slot it just landed on sits between two other meetings and leaves no room to prepare, or that the person you actually need in the room is the one you marked optional. It finds the first mathematically valid gap. Judging whether that gap is a good idea is still on you.
Where the Outlook Scheduling Assistant stops
Everything above works inside your own organization. That boundary is the real limitation, and it’s structural rather than a bug.
External guests show up as empty rows
Outlook reads free/busy for mailboxes in your own Microsoft 365 tenant. Add a client, a candidate, an investor, anyone at another company, and their row comes back with no availability on it. Classic Outlook usually marks that with gray diagonal hatching, meaning “no information,” while new Outlook and the web version often just leave the row empty. Same meaning either way: not busy, not free, unknown. A row with nothing in it is arguably the most misleading state a scheduling tool can show you, because it reads as open.
Administrators on both sides can set up an organization relationship to publish limited free/busy across the boundary. In practice that takes cooperation between two IT departments, so it exists for long-running partnerships and essentially never for the prospect you met last week.
Microsoft’s own answer for external attendees is Scheduling Poll, which emails a set of proposed times and lets recipients vote without needing a Microsoft account. It works fine. It also means you propose times, wait, read the responses, and book, which is a different activity from looking at a grid.
It shows you availability; you still drive everything
The Outlook Scheduling Assistant is a display. It surfaces information clearly and takes no action on it.
You still open the meeting, add the people, decide who’s required, read the grid, choose the slot, decide whether that slot is actually sensible, write the agenda, send it, then handle the replies when two people decline. For a recurring internal stand-up that’s a minute of work. For an executive booking twenty meetings a week, half of them with people outside the company, it adds up to a real chunk of the day.
What handled scheduling looks like instead
Catch is an AI Executive Assistant. It connects to Outlook or Gmail and handles the work an executive assistant handles: email triage and drafting, scheduling, reminders, reservations, bookings, and business travel. On scheduling it works end to end, not by showing you a better grid, but by doing the steps you’d otherwise do yourself.
Calendar access works the way any connected tool’s does: Catch reads your primary calendar plus any calendars shared with it. No special pipe. The difference shows up after the availability is known.
- It picks the time on judgment, not just arithmetic. Catch weighs how urgent the request is, who’s involved, and what’s already sitting around that slot, rather than grabbing the first open gap.
- It handles external guests, which is where the grid goes blank. Catch emails the other side, proposes times, reads the replies, and books it. If someone sends a scheduling link, Catch reviews the slots and books one instead of leaving it sitting in your inbox.
- It resolves conflicts rather than flagging them. When two things collide, Catch reaches out to move one and tells you it’s done.
- It works over any channel you already use. Slack, email, text message, iMessage, or a phone call. “Find me forty-five minutes with Mark and the finance team before Friday,” and it comes back booked.
- It can place real calls on your behalf. Booking a restaurant for a client dinner, or confirming a detail with a venue, is an outbound call Catch makes itself, identifying itself as AI. Catch doesn’t answer your personal phone or screen your incoming calls, the same way a human assistant wouldn’t.
- It reminds you of what matters and flags what needs you. Meeting prep, a thread nobody has answered, a decision only you can make.
Autonomy is earned rather than switched on. Early on Catch checks with you before acting, and as it learns how you work, who matters, what a real priority looks like, how you like things handled, it starts handling more without asking. It verifies details before doing anything on your behalf. On security, Catch is SOC 2 Type II certified and CASA Tier 2 verified.
Pricing is a flat $99 per month. Voice is included, with no per-call fees.
Getting the most out of both
None of this means abandoning the Scheduling Assistant. It’s the right tool for a specific job, and worth using well:
- Mark required and optional honestly. AutoPick only respects required attendees, and meetings stay leaner when you’re deliberate about it.
- Add the room before you commit to the time. A booked room invalidates a slot that looked fine.
- Check the gray, not just the white. Working hours vary, especially across regions.
- Treat a blank external row as unknown, never as free. Confirm before sending.
- Hand off the coordination that isn’t a grid problem. External back-and-forth, conflict resolution, and rescheduling were never things a free/busy view was built to solve.
Use the Scheduling Assistant for the internal meeting where everyone’s calendar is visible. Past that boundary, the work isn’t looking at availability - it’s the back-and-forth with the other side, deciding what actually fits, and getting the meeting booked. That’s the part worth delegating.
Frequently Asked Questions
What is the Outlook Scheduling Assistant?
The Outlook Scheduling Assistant is a view inside a meeting invite that shows every attendee’s free/busy time on a shared grid, one row per person. You use it to find a slot that works before sending the invite, and it includes Room Finder for booking meeting rooms and AutoPick for jumping to the next open time.
How do I open the Scheduling Assistant in Outlook?
Create a new meeting, add your attendees, then click the Scheduling Assistant tab at the top of the event window in new Outlook and Outlook on the web, or the Scheduling Assistant button in the ribbon in classic Outlook for Windows. It won’t appear on an appointment with no attendees.
Why can’t I see availability for people outside my organization?
Outlook reads free/busy data for mailboxes in your own Microsoft 365 tenant, so anyone at another company shows no availability: gray diagonal hatching in classic Outlook, or simply an empty row in new Outlook and on the web. Administrators on both sides can configure an organization relationship to share limited availability, but that’s rarely in place for ordinary external meetings.
What do the colors in the scheduling grid mean?
Dark blue is busy, light blue with diagonal hatching is tentative, purple is out of office, white is free according to the published calendar, and light gray is outside that person’s working hours. Gray diagonal hatching means Outlook has no free/busy data for that person at all. White means nothing is scheduled, not that the person is genuinely available.
What does AutoPick do in Outlook?
AutoPick moves the selection bar to the next block of time where all required attendees and any booked room are free. AutoPick Next steps forward through subsequent open slots. It finds the first valid gap mathematically, and doesn’t judge whether that slot is a good idea.
How do I book a meeting room with Room Finder?
Click Room Finder next to the Location field, pick a building, then filter by capacity, floor, type, or features. Selecting a room adds it to the invite as a resource with its own row in the grid, so a room conflict blocks the slot the same way a person’s does.
Why is the Scheduling Assistant not showing any data?
Usual culprits: a personal Outlook.com account instead of a Microsoft 365 or Exchange work account, attendees added as plain email addresses rather than directory contacts, or external attendees whose free/busy simply isn’t published to your tenant. Missing rooms usually mean room lists haven’t been configured by IT.
What’s the difference between Scheduling Assistant and Scheduling Poll?
The Scheduling Assistant reads availability directly from calendars inside your organization and lets you pick a time yourself. Scheduling Poll emails a set of proposed times to attendees, including external ones without a Microsoft account, and collects their votes, which is why it’s Microsoft’s answer for outside guests.
Can Outlook schedule meetings for me automatically?
Outlook can surface times and suggest slots, but you still add the attendees, choose the time, and send the invite. An AI Executive Assistant like Catch takes the whole sequence, picking the time on priority and urgency, reaching out to external guests, and booking it, over Slack, email, or text.
How much does an AI assistant for Outlook scheduling cost?
Catch is a flat $99 per month, with voice included and no per-call fees. It connects to Outlook or Gmail, reads your primary calendar plus any calendars shared with it, and handles scheduling, email, bookings, and business travel end to end.
Keep reading
Related posts

What Is Block Scheduling? How It Works and Why Blocks Collapse
What block scheduling is, how it differs from time blocking and task batching, how to build one that works, and the real reason so many blocks collapse by mid-morning.
Scheduling Software That Integrates With Outlook: What to Look For
Every scheduling tool claims Outlook support, and they mean very different things by it. Here is how to test integration depth before you buy, plus the failure points that show up in week three.

Meeting Notes Template: Free Formats You Can Actually Use
Free, copy-ready meeting notes templates for team meetings, one-on-ones, project kickoffs, client calls, and board meetings, plus how to turn notes into action items.